Happy, happy Halloween everyone!


I hope everyone has had a safe Halloween weekend so far! For Avery’s 2nd Halloween, we decided to pay tribute to her first favorite Disney character, Moana!
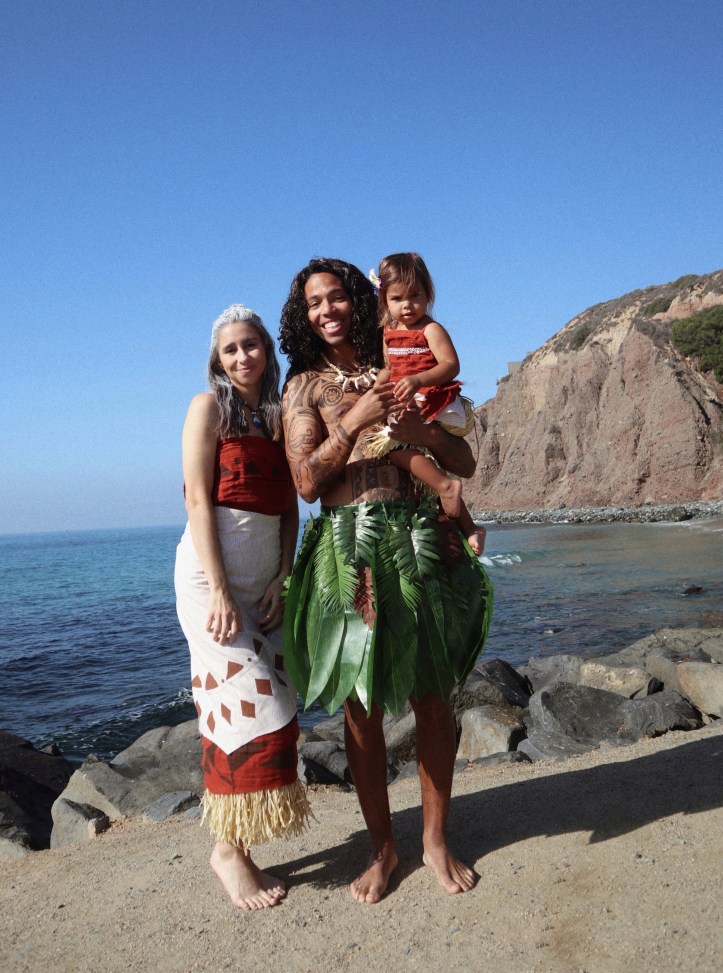
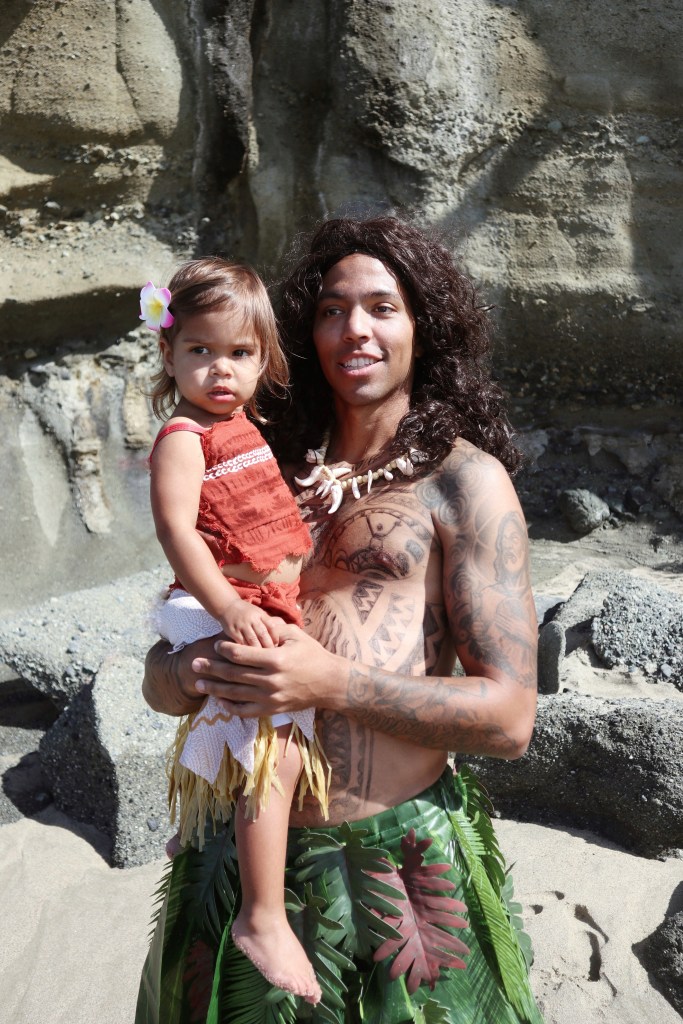
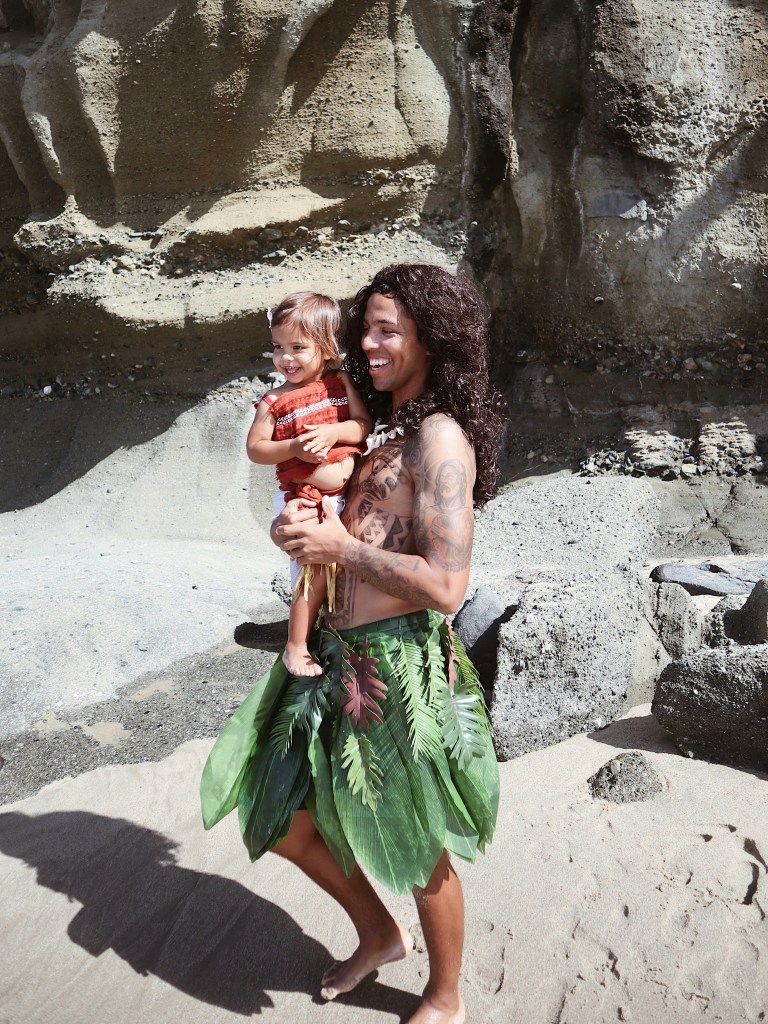
Coming to you from Motuni, it’s Moana, Gramma Tala, and Maui!


Costume DIY Breakdowns
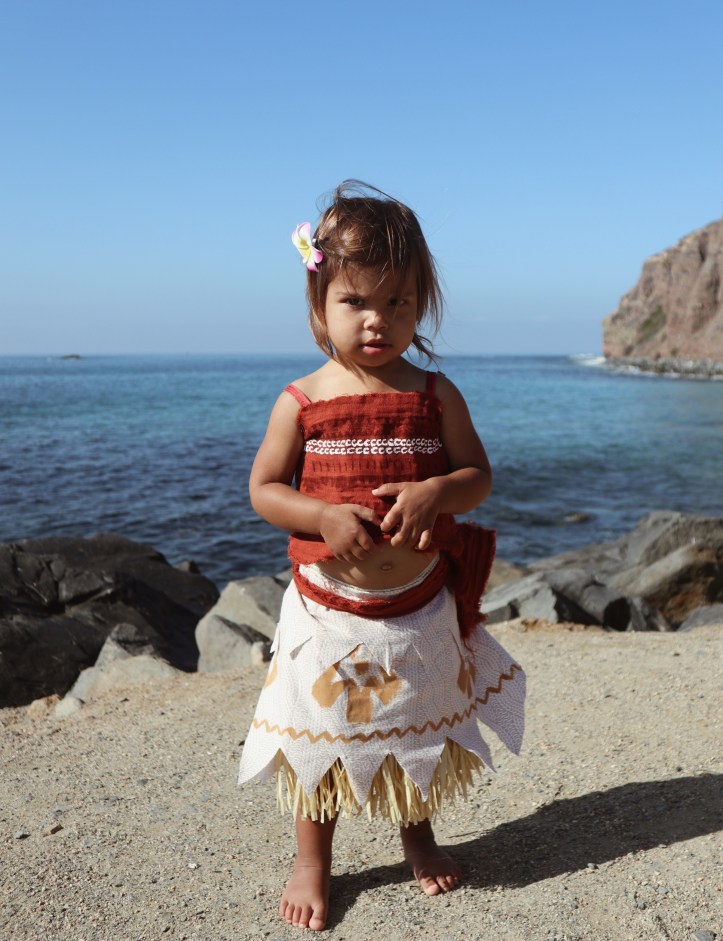
MOANA
What you’ll need
+ Reddish/Brown fabric of your choice
+ Tan fabric of your choice
+ Red, Brown, Black paint (to mix to achieve an authentic reddish/brown color to paint the design of the top), Yellow paint (to mix with the brown to give the goldish hue to the floral portion along the skirt), and White paint (for the “beaded” appearance along the top as well)
** if you’re also doing Gramma Tala, buy more of the same fabrics- at Joann’s they sell the fabric by length, so we just bought enough to cut and use for both my costume and my daughter’s costume.
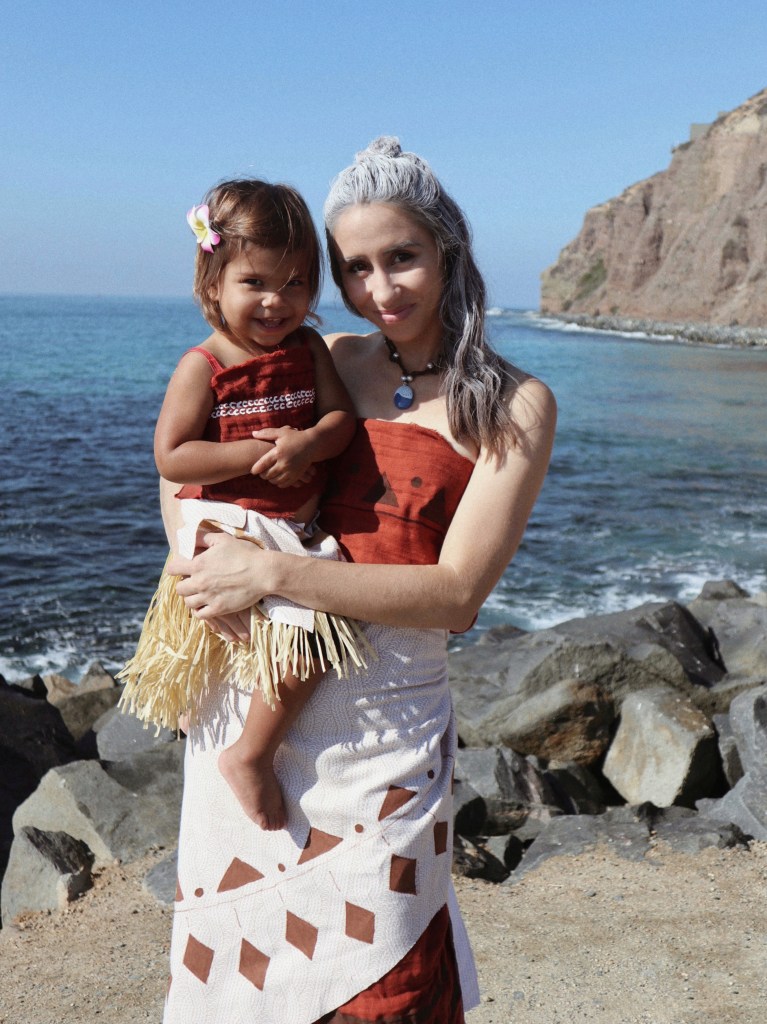
++ For the skirt- we used a pair of Avery’s shorts to measure the fabric, and using the tan fabric we’d bought, cut the fabric into the size and shape we wanted her skirt to be. Then, we cut a smaller layer using the same fabric for that top “layer” and then cut the triangular shapes onto the bottom of both layers. Then, using a hot glue gun, we glued the tan skirt on top of the straw hula skirt. Before, gluing, it’s important to actually cut the hula skirt into one straight piece as opposed to keeping it attached at the waist- this is because when you hot glue the other piece over it, it actually loses the elasticity and makes it impossible to then get over your toddler (or yourself) to wear it. We left a little fabric open on the top and then glued it over a piece of string that we used to create a “belt” which we tied around Avery’s waist for her to wear, bringing the pieces perfectly back together at the back. To finish the skirt off, we painted the designs along the bottom.
++ For the top- we glued our reddish fabric over a small little tank we already had for Avery and then my husband hand painted the design on to it.
++ For the belt- we used the same reddish fabric and cut it into a long rectangular shape to use as the”belt” that Moana has tied around her waist.
++ Hair pin– bought off Amazon!

GRAMMA TALA
What you’ll need
+ Reddish/Brown fabric of your choice
+ Tan fabric of your choice
+ Tube Top
+ Necklace
+ Red, Brown, Black paint (to mix to achieve an authentic reddish/brown color to paint the design of the top and skirt)
++ Top– I purchased the tube top off Amazon (linked above) and then using our reddish fabric, cut it so that it would wrap around the top and then tuck in on the top (again, not gluing it together so that the elasticity of the top stayed intact so that I could actually get it on). Then I hand painted the design onto it and when I put it on, we simply safety pinned the back of it to keep it together. You could also cut extra fabric to also have the top tie in the back too!
++ Skirt (s) – so Gramma Tala’s skirt actually has 3 layers. To create these layers, we first used the reddish fabric to cut a maxi skirt, which I tied at the top, right above my hip. We then cut an adult hula skirt and glued it to the bottom of the red skirt so that just enough of it would poke out of the bottom. Then, using the tan fabric, we cut a shorter length skirt to lay on top of the red one, giving that top layer. Then we painted the designs you see, onto the respective skirts.
++ Necklace – actually took from a pre-made Moana costume that Avery’s fairy Godmother bought her months ago (linked another one above).
++ Hair – white spray paint (linked above).
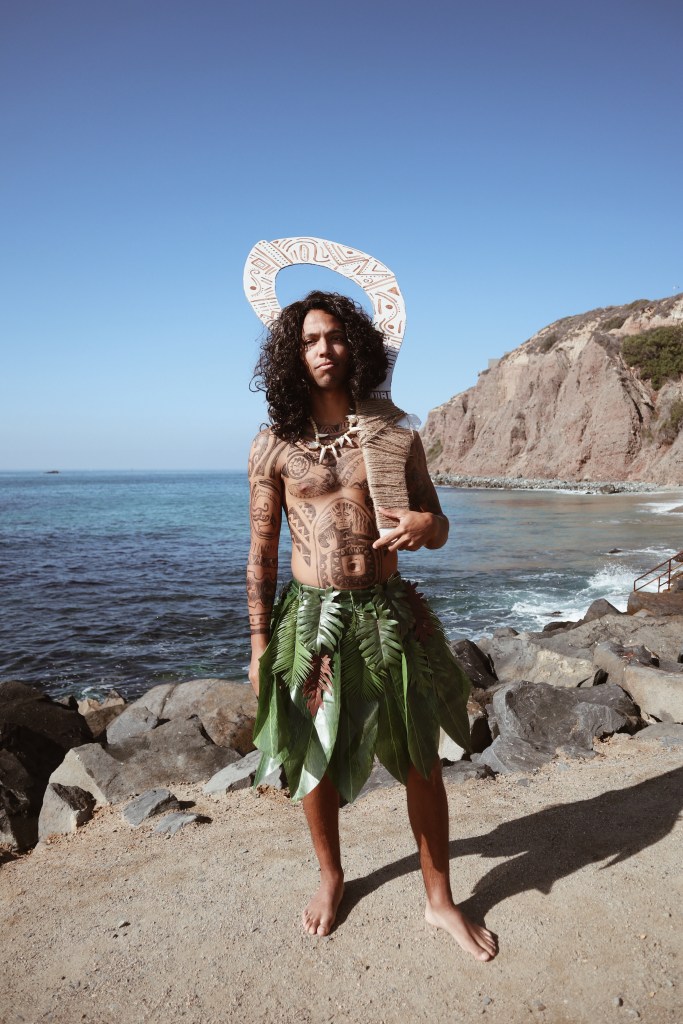
MAUI
What you’ll need
+ Skirt
+ Extra leaves (for dimension and layers)
+ Wig
+ Cardboard (to use to make the hook)
+ Brown string
+ White paint (to paint the cardboard hook) and Brown paint (to paint the designs on the hook)
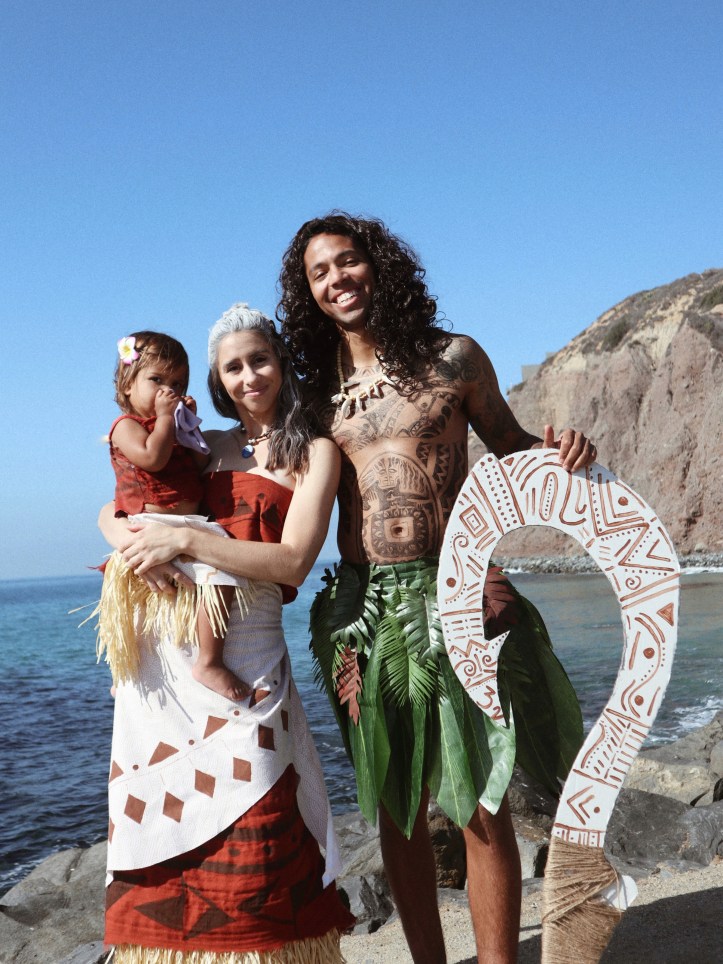
++ Tattoos – Okay so I stayed up till 2 am drawing these tattoos on Joey the night before we shot our pictures. We used 3 pens in total but bought 6 just in case. They seem to run out pretty quickly and I didn’t want the tattoos to look faded, so I doubled up in some areas. I linked the exact tattoo pens we bought.
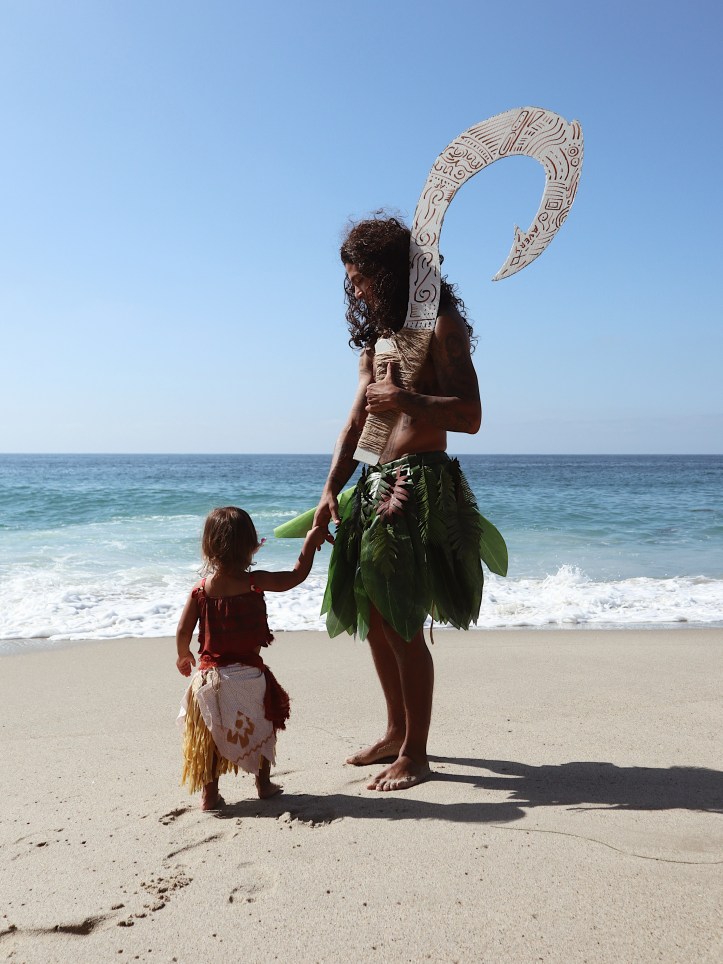
++ Skirt – We purchased the green leaf skirt off Amazon (linked above) and then I went to Michael’s and bought some extra tropical faux leaves which I cut from the plastic stems and then hot glued onto the skirt in different areas to give a more layered look to the skirt. I also painted some of the leaves brown to give the multi-colored look that Maui actually has.
++ Hair – I mean, you can’t be Maui without the wig!!! Linked the exact one we bought.
++ Necklace– I was going to buy a bunch of shark teeth and make one myself, but then I came across this already made necklace and thought it was PERFECT!
++ Hook – Joey cut the hook shape out of cardboard (he actually went to Home Depot and asked the guys at the front if they had any extra cardboard from shipping boxes that they were throwing away and ended up getting a big enough piece!) Then he painted the entire thing white, then painted the tribal designs on top. Then using the brown string (we got it at Michael’s), I wrapped the string around the bottom of the hook and ta-da!
We (I) absolutely love Halloween and always sucker my husband into the creative process with me, but we really do have so much fun creating the costumes over the couple weeks leading up to Halloween. When we got Avery dressed up, she knew exactly who she looked like and was so excited too! It was the cutest. Whenever we shoot photos, I always like to find a location that fits the vibe of the costume. This year, that was easy because it was the beach! So we made a day of it and after shooting photos, hung out and ate lunch at the beach too (after changing out of our costumes LOL, we actually got rather soaked playing in the waves while shooting photos).
Well that’s it for us this year! And in true Amanda fashion, I already have plans for next Halloween!

So cute! And those tattoos!! Wow.
LikeLiked by 1 person
Super cute, happy Halloween!
LikeLiked by 1 person
[…] For last year’s costume break-down (Moana, Gramma Tala, and Maui) follow this link here! […]
LikeLike
[…] Moana, Maui, & Gramma Tala […]
LikeLike