I literally have no problem talking all day, everyday about all things wedding. Today, I’m going to share how we made most of our signs ourselves.
When I first started planning, I knew I had to have a welcome sign, seating chart, and bar menu. But that was it. As we really started planning, I realized I wanted a lot more signage around the venue to decorate. SO when we built our donut wall (post here), we ended up with a bunch of extra pieces of wood and I couldn’t just let those go to waste. I looked up designs and quotes I liked, and decided to cut the extra pieces of wood into sizes that I could use and spread throughout the venue.
Joey made all the signs himself (with the exception of 2) and I was blown away by how good they came out! With the extra wood, we spray painted a few pieces copper, painted one white, and then spray painted one to be a “chalkboard” (which I was surprised actually worked!) Then, using some photos of things I liked, he recreated the signs himself, actually free handing the majority of them.

^^This sign was right outside the dance hall at our venue, welcoming guests to the dancing and dessert portion of the evening.

If you’re looking for a cheap, easy way to add something special to your party or event, add some custom signs! All you have to do is go to Home Depot and pick out any type/shade of plywood that you like and get to painting! You can always get stencils or trace items onto the wood and then paint over the tracings if you need too!
It was super easy to do, you just need to get the materials and then carve out some time to sit down and do it yourself. Home Depot cuts the wood for you as well, just let them know the dimensions you need.
What you’ll need
– size/ dimensions of the wood you like/need
-indoor/outdoor paint that will adhere to wood (color of your choosing)
-spray paint to cover the wood if you’re going for a different look other than the texture the wood naturally gives. Again, make sure it will adhere to wood.
-paint brushes- I suggest getting some of all sizes so that you can add tiny details if you need too while also having the bigger brushes to cover enough space.
-Construction paper or any type of sturdy paper where you can create a stencil if you need too, it’s much easier to create a stencil than to free hand! You can see how we did it with our donut wall by following this link!
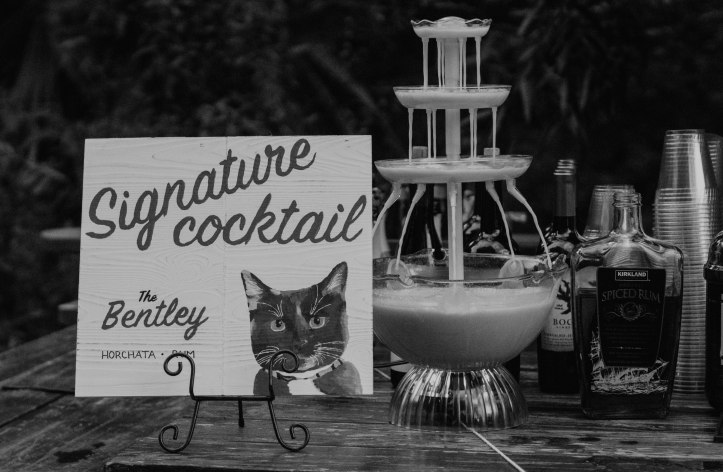
My lovely cousin made our bar menu and welcome sign! She’s an artist and you can check out here work and commission her here if you’re interested!
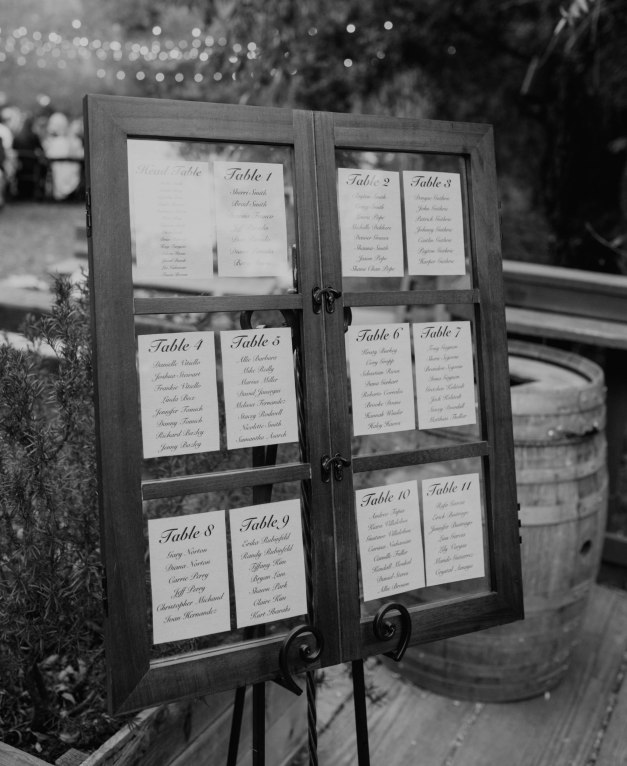
For our seating chart, we bought a wooden/clear glass frame from Home Goods and then had the tables and guest names printed on card stark that we bought at Michael’s. We had them sized and centered at FedEx and then used double sided tape to tape the cardstock to the glass.
I hope this helps anyone doing some DIY signage for your event!


such fantastic ideas! i’m already married but have been looking into ideas for our 10 year anniversary 🙂 thanks for sharing!
LikeLiked by 1 person